Blog & News
Food waste
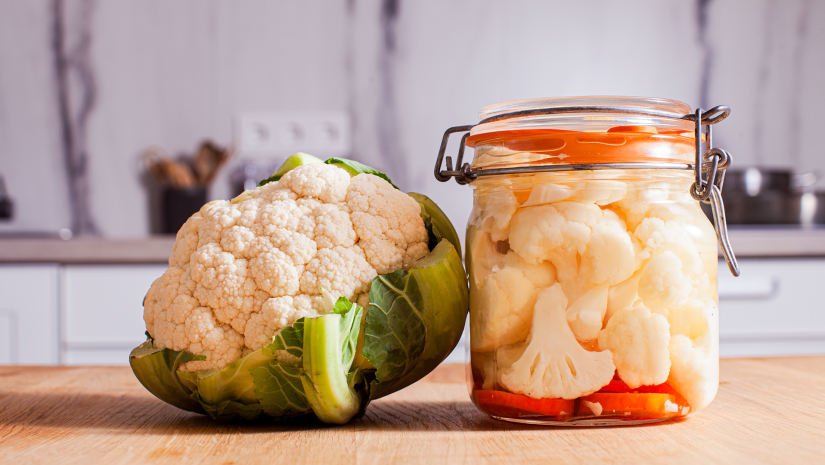
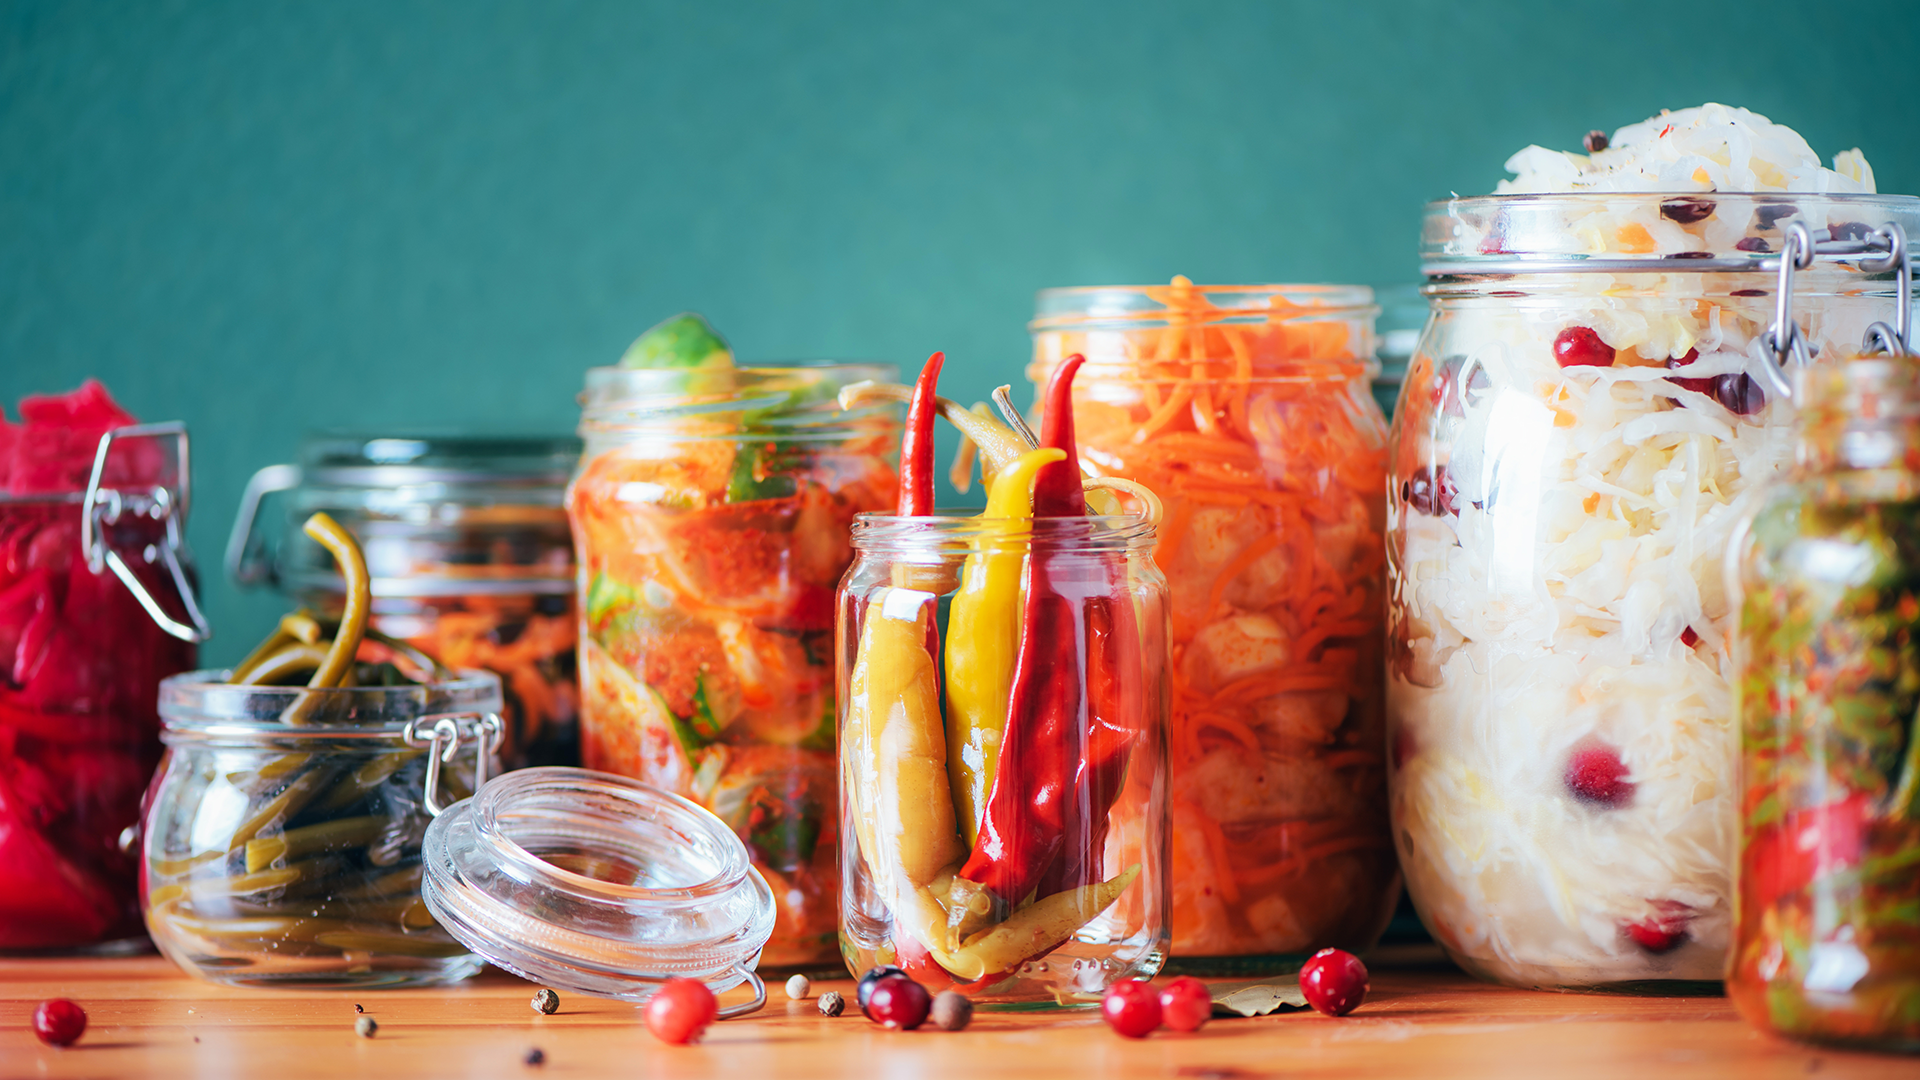
By its name alone, lacto-fermentation is a preservation method that can intimidate and deter many. However, this method has regained popularity in recent years because lacto-fermented vegetables are a delicious and healthy addition to our dishes (think kimchi, sauerkraut, pickles… yum!), but also because of its simplicity. Lacto-fermentation is ideal for those who are just beginning to learn about preservation methods, since it’s very safe; the absence of oxygen and the salt concentration of the preparation eliminate the risks of poisoning that are generally associated with conventional canning.
Follow me through this article where I share with you a simple and accessible method to keep the abundance of the beautiful season all year round!
Choosing ingredients
First of all, lacto-fermentation is a salt-based fermentation process in which the star of the show is the bacteria that’s naturally found on our vegetables. The list of necessary ingredients is therefore very short: all you have to do is place the chosen vegetables in the presence of salt, water and in the absence of oxygen for the magic to happen and the flavours to develop!
In order for fermentation to be successful, you must use non-iodized sea salt. You generally have to add between 2 and 4% of salt to your preparation. To calculate the amount of salt needed, you can rely on the volume of your jar. For example, to lacto-ferment carrots at 2% salt in a 1 L jar, I would add 20 grams of salt to my jar (2% of 1000 mL = 20 g).

Next, if you’re using tap water, it’s best to get rid of the chlorine it contains, which could harm the fermentation process. To do this, you can filter your water using a carafe filter or simply let it sit in an open container for a few hours to allow the chlorine to evaporate.
When it comes to vegetables, there are plenty to choose from! While the more traditional lacto-fermentations usually involve pickles, carrots and cabbage, I would like to warn you that after a few successful attempts, you may be tempted to ferment anything you can get your hands on! I encourage you to experiment with cauliflower, broccoli, zucchini, peppers and radishes, and more.
What you need to know before starting
As mentioned above, lacto-fermentation is very safe since bad bacteria can’t grow in this salty, oxygen-free environment. On the other hand, mould could develop if the vegetables are not completely submerged in the brine and come in contact with the air in the jar. The most important thing with this method of preservation is to make sure that the vegetables are trapped in the jar, so that they can’t rise to the surface during fermentation. If you need small pieces of vegetables that are more difficult to keep submerged, such as shredded cabbage, it’s best to use a glass weight that is placed on top of the vegetables to cover them in the brine.
If you don’t want to buy weights, you can use half an onion for this purpose, or toothpicks inserted perpendicular to the jar, to prevent the vegetables from rising to the surface. Some people also use plastic wrap over the brine to separate the vegetables from the air…in other words, the internet is full of DIY ideas that allow you to skip this purchase!
Follow these steps
Like any recipe, we start with a good washing of our hands, our work surface and the utensils we’ll be using. To avoid any contamination, I also recommend sterilizing the jars for 10 minutes in boiling water, or at 250°F in the oven. You can also simply put them in the dishwasher right before you start.
Then just follow these few simple steps:
1. Wash and cut your vegetables to your desired size
2. Add salt to the jar
3. Place the “greenhouse” vegetables in the jar
4. Cover the vegetables completely with water
5. Add a weight, if necessary
6. Close the jar and let it ferment at room temperature. Here, it’s important to leave the lid unscrewed about ¼ of a turn, to allow the C02 created by fermentation to gently escape from the jar.
Once the fermentation time is up*, remove the weights if you used them and tighten the lids, before storing it in the fridge.
*If this is your first fermentation, I recommend letting the jar ferment for 1 to 2 weeks at room temperature, then storing in the fridge to stop the fermentation. Those who are used to it can allow the flavour to develop for several months!
Once in the fridge, the fermentation will stop due to the low temperature and you can store your jars up to 1 year.

Food Waste Expert
Stéphanie Tremblay
In love with nature, Stéphanie combines her interests in the environment and food in order to raise awareness of the importance of their food choices. Her professional training and experience in environmental education make her a knowledgeable speaker who conveys her passion with enthusiasm and positivism. In her spare time, she can be found in her garden or in the forest, gathering wild edible plants.
View all posts...Related posts :


Contact us
Earth Day Canada
5818, boulevard Saint-Laurent
Montréal (Québec) H2T 1T3 Canada
Phone : (514) 728-0116
Toll free : 1 800 424-8758
Fax : (514) 303-0248
Email: hello@earthday.ca
![]()
![]()
2026 © Earth Day Canada. All rights reserved.
Privacy policy · Terms of use · Trademark